
Destiny 2 Moon Heist Guide: Complete the Seraph Bunker Raid
Destiny 2's Season of the Seraph Moon Heist demands fast kills, hacking, and shield-breaking to breach the Submind Vault Security Door.
Destiny 2's Season of the Seraph introduced Heists—raids on lost Warmind bunkers to recover fragments of Rasputin's Subminds. The Moon Heist is the first major operation Guardians tackle, and it remains a popular mission for players chasing seasonal triumphs or revisiting Warmind content in 2026. The activity throws waves of Xivu Arath’s Hive, powerful Scorn, hacking objectives, and environmental hazards at the fireteam. Clearing it efficiently requires coordination and attention to several unique mechanics.
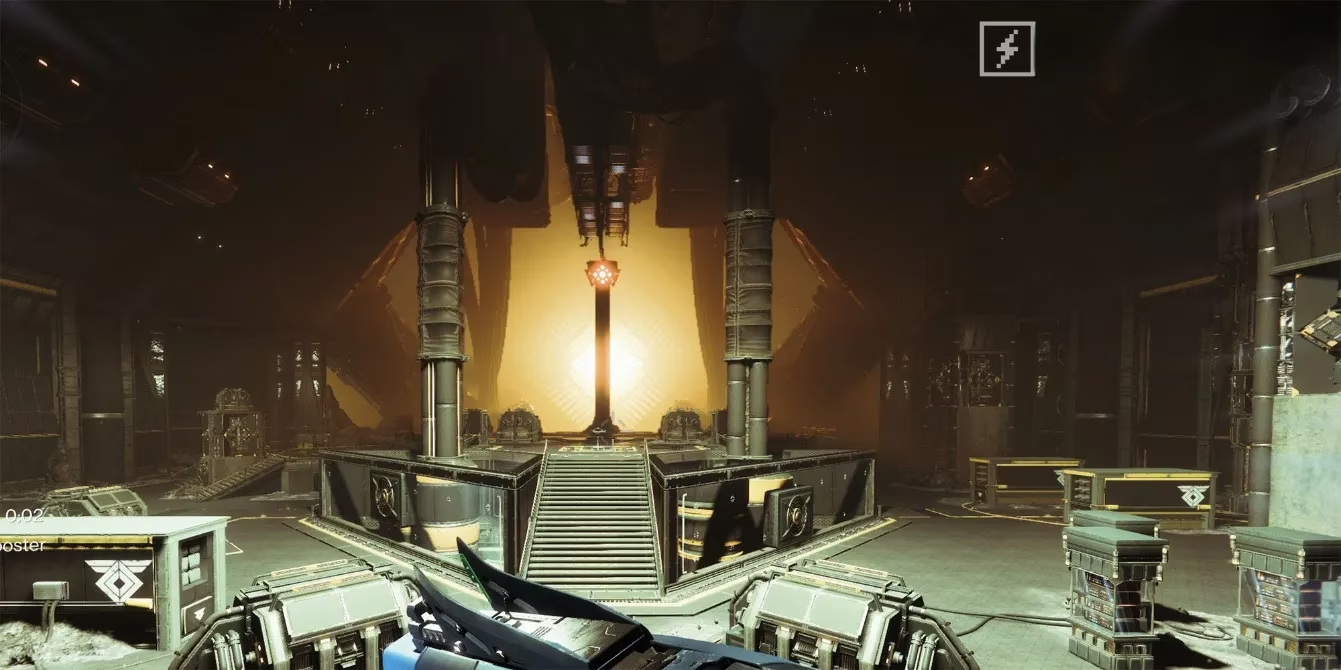
Getting Inside the Bunker
The mission begins near Archer's Line on the Moon. Players spawn outside the bunker and must fight through groups of Xivu Arath's minions. As enemies are killed, their Cryptoliths are cleared, gradually opening the way forward. Throughout this opening section—and the rest of the Heist—there are Hive traps on the floor. These traps will bind a Guardian in place and drain health. Shooting the traps can destroy them, and shooting a trap that has already grabbed a teammate can also free them.
Shortly after the first wave, a Deathtongue Chorister appears. This enemy should be killed as quickly as possible because if it reaches the Hive totem, it will buff nearby Hive combatants and interfere with Guardian abilities.
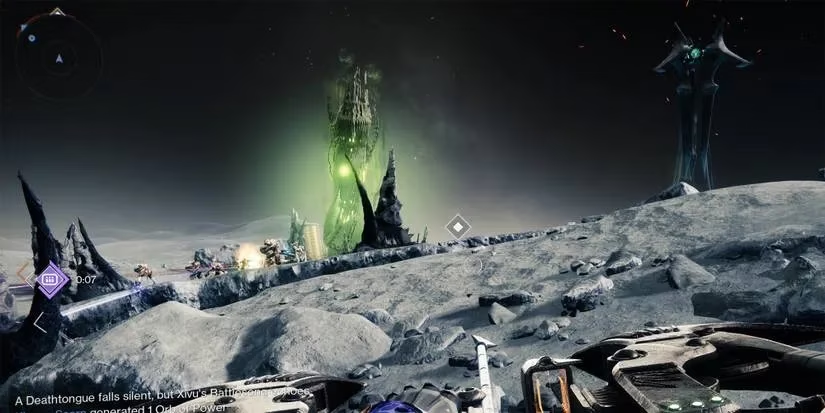
While dealing with the Hive, players must also watch for Warmind security towers. These towers scan the area with a targeting beam. If a Guardian remains in the beam for roughly 15 seconds, the tower fires powerful laser blasts. Using any solid cover to break the line of sight is essential. Once all enemies are defeated, the bunker door opens and the fireteam descends beneath the lunar surface.
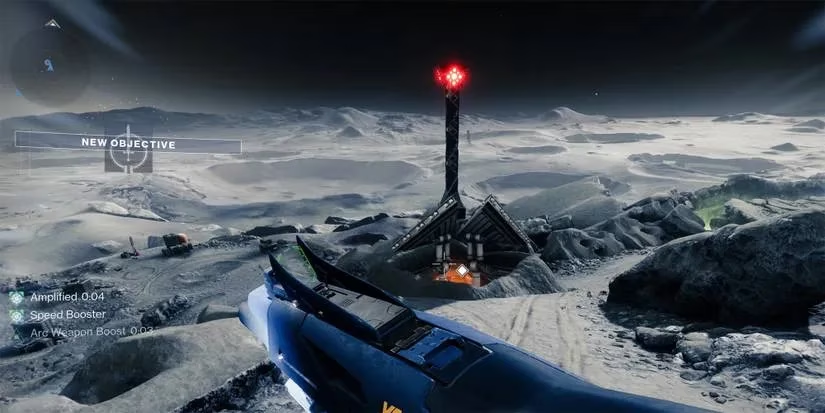
Hacking the First Door
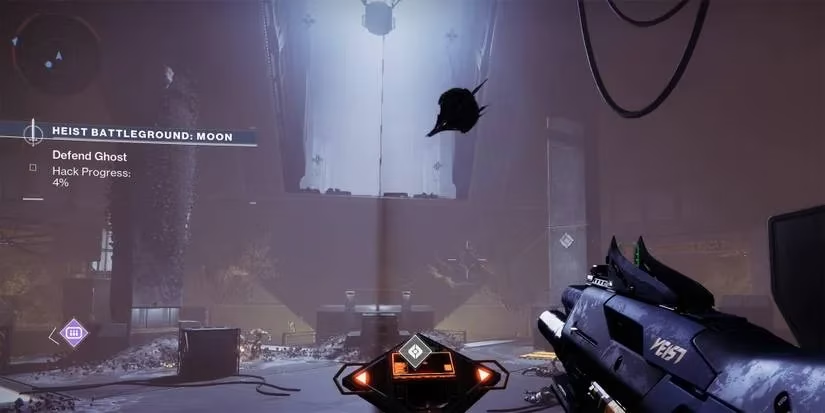
After moving through the initial interior rooms, players reach a large chamber with a terminal that must be hacked. Starting the hack triggers enemy reinforcements from both the left and right sides of the room. The key threat here is the Ravenous Raiders, who sprint toward the terminal and interrupt the hacking process as long as they are alive. One or two players should focus on protecting the terminal while the rest clear adds. Once the hack completes, a door behind the terminal opens, allowing the team to descend deeper into the bunker.
Breaching the Submind Vault Security Door
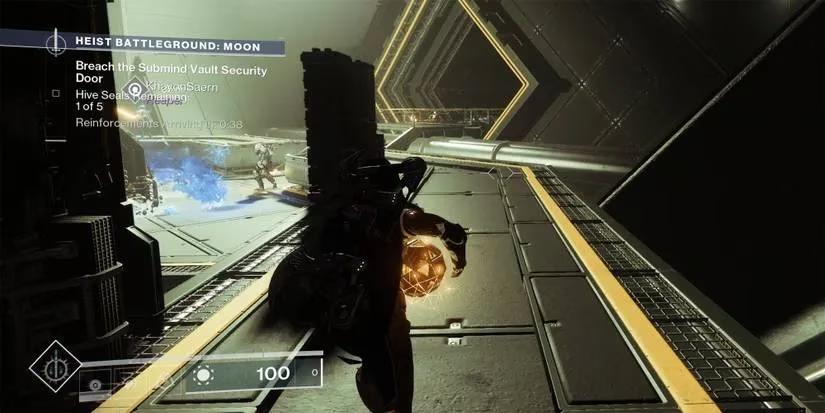
The next major obstacle is the Submind Vault Security Door, which is protected by Hive Seals. To break these seals, players need to collect Refraction Cores. These cores drop from enemies lurking in the side passageways to the left and right of the door.
The platforms and walkways in this area are easy to fall from, so careful movement is important. At the same time, enemies periodically spawn from the central tunnel and rush toward the door. Having at least one fireteam member focus on clearing the central tunnel keeps the core carriers safe.
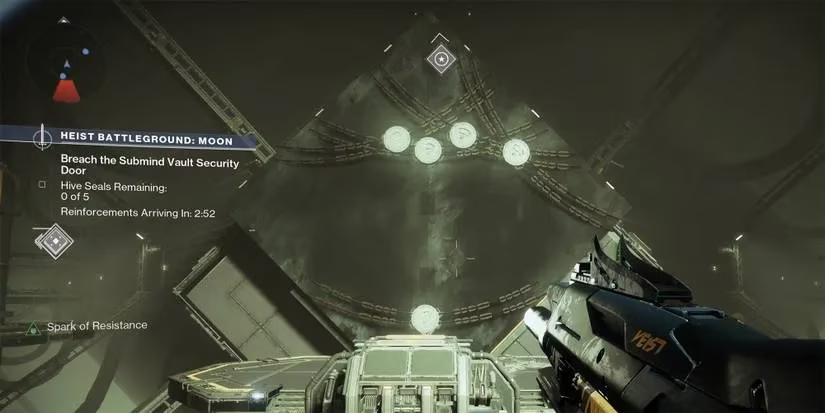
Once a Refraction Core is in hand, return to the door and shoot the core at the chains between the seals. A well-placed shot can break multiple chains, with up to three seals possible from a single core if the aim is precise.
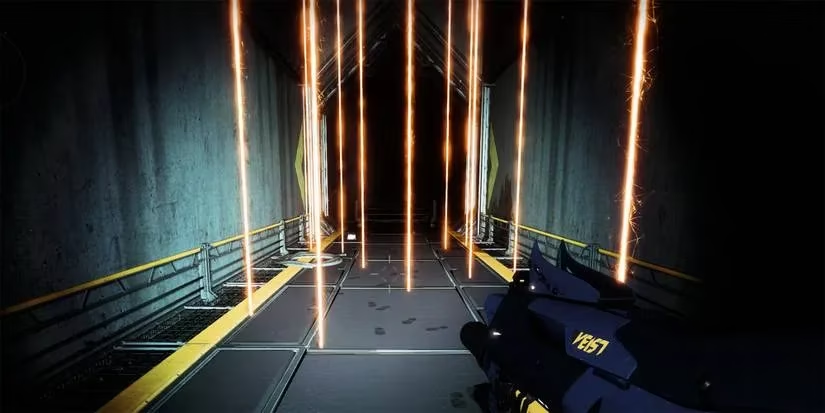
After the seals are destroyed, watch for a series of vertical laser beams in the next corridor. These beams kill on contact, so the fireteam should move slowly through the gaps between them to reach the final boss arena safely.
Defeating Once-Phyris the Exhumed Tether
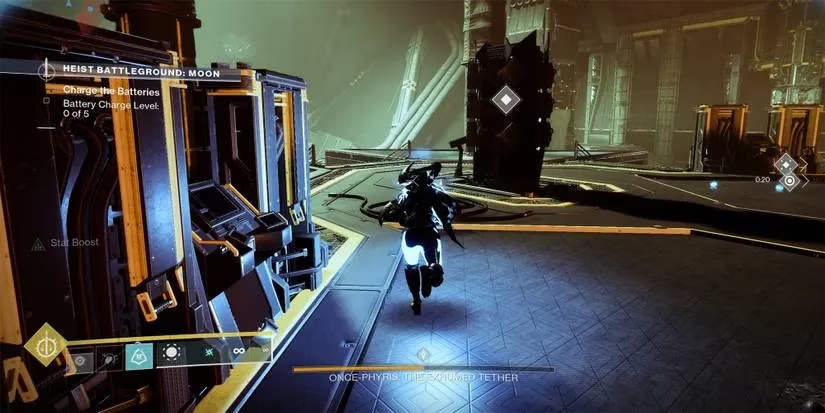
The final encounter features Phyris, a Scorn boss armed with a sniper rifle. Phyris teleports around the arena and fires from range while his minions swarm the fireteam. He is initially vulnerable, but at 50% health he gains an invulnerable shield. To remove this shield, players must kill Arc-Charged Scorn that spawn while the shield is active. These enemies drop battery charges.
Pick up the charges and deposit them at the mission objective on the central platform to charge the Warmind batteries. After five charges are deposited, the Warmind unleashes a blast that shatters Phyris' shield. From there, the fireteam can burn down the boss. Once Phyris falls, the mission reward chest spawns on the central platform. Open it to complete the Moon Heist.
Key Threats at a Glance
| Threat / Mechanic | How to Counter |
|---|---|
| Hive floor traps | Shoot traps to destroy them or free trapped allies |
| Deathtongue Chorister | Kill quickly before it buffs Hive allies |
| Warmind security tower beams | Break line of sight with cover before 15 seconds |
| Ravenous Raiders | Defend the terminal so they cannot interrupt the hack |
| Refraction Core carriers | Have teammates clear central tunnel adds |
| Vertical laser beams | Move carefully through gaps; do not touch the beams |
| Phyris' invulnerable shield | Kill Arc-Charged Scorn, deposit five battery charges |
How can a fireteam make the Moon Heist easier? The answer is simple: assign roles. One player can handle add clear, another can focus on objectives, and the third can cover dangerous angles. Communication is especially important during the Refraction Core section and the final boss, where a single missed deposit or a dropped core can slow the entire run.
With these mechanics mastered, the Moon Heist becomes a fast and repeatable seasonal activity. Whether players are chasing gear, triumphs, or simply enjoying the Warmind storyline in 2026, this guide provides the route to a clean completion.
This assessment draws from GameFAQs, where community-driven walkthroughs and Q&A discussions often emphasize role assignment and pacing as the biggest time-savers in repeatable activities like the Moon Heist. Applying that mindset here means designating one Guardian to hard-focus objective pressure (terminal defense, Refraction Core shots, and battery deposits), one to anchor add-clear lanes (especially the central tunnel during cores), and one to call hazards and angles (Warmind tower beams, floor traps, and boss teleports) so the team avoids wipes and keeps the hack and shield-break phases moving.