Destiny 2 The Final Shape Iconoclasm Mission: A Complete Guide to Defeating the Witness
Master the Iconoclasm mission in Destiny 2: The Final Shape, a thrilling journey to confront the Witness with your fireteam. This pivotal trial demands adaptability and precision, combining intense combat, traversal, and intricate Dark Node puzzles.
As Guardians venture into the heart of the Traveler in Destiny 2: The Final Shape, the Iconoclasm mission stands as a pivotal trial. It's a journey to find and confront the Witness, a path fraught with formidable bosses, intricate puzzles, and the ever-present threat of oblivion. While solo attempts are possible, coordinating with a fireteam can turn this formidable challenge into a more manageable, and even thrilling, cooperative experience. The expansion equips players with new weapons, gear, and the potent Transcendence power, all essential tools for this final campaign push. The mission is a masterclass in combining combat, traversal, and environmental puzzle-solving, demanding adaptability and precision from every Guardian who dares to undertake it.
🌱 Starting the Quest & Mastering Dark Nodes
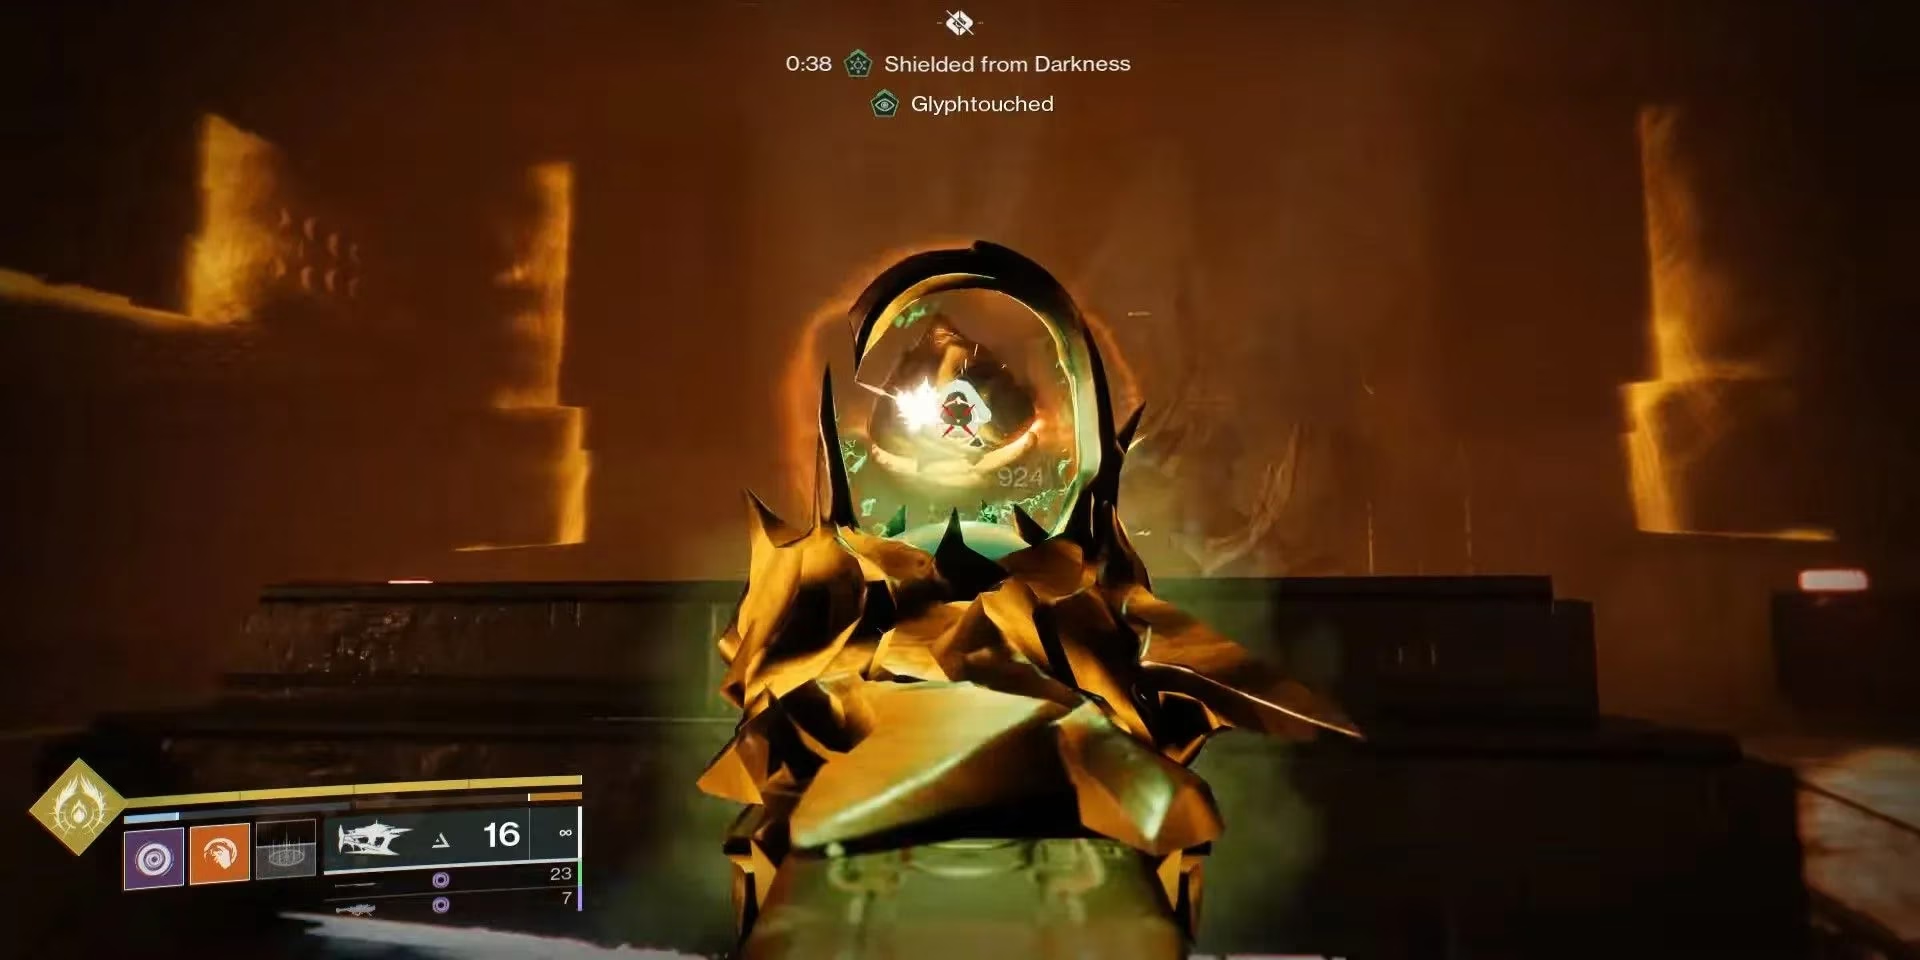
The mission begins with a push toward the Ritual Site, cutting through waves of enemies. An early challenge arrives in the form of a Tormentor 🛡️, a foe whose weak points are its shoulders and chest. Focus fire here to bring it down efficiently. Victory leads you into The Sacrarium, where a critical tutorial unfolds. Here, you'll learn the mechanics of Dark Nodes. These glowing orbs grant a temporary buff that allows you to pass through the distinctive orange-yellow barriers blocking progress and, crucially, resist lethal environmental poison. The game clearly guides you through this initial use, making it a straightforward but essential lesson for what's to come.
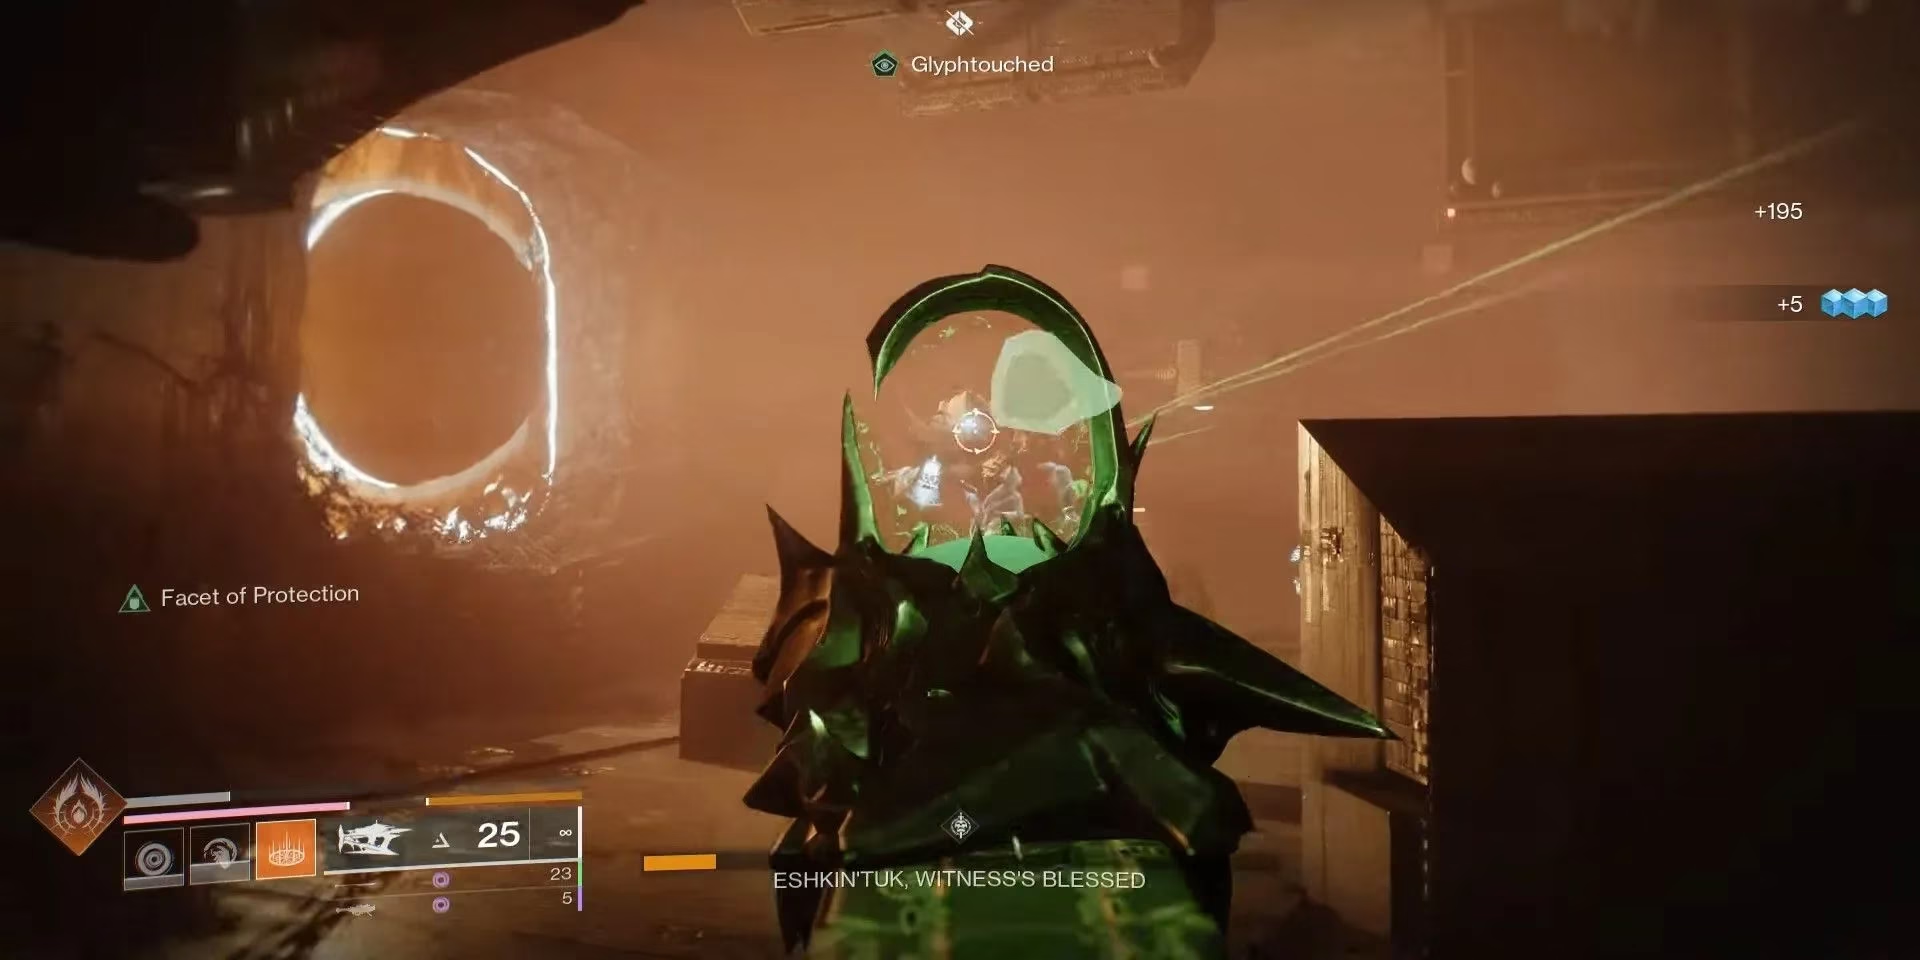
⚔️ Encounter 1: Eshkin’tuk, Witness’s Blessed
After placing a rally banner, you'll enter a large, amber-hued chamber teeming with hostiles. Clear the room and locate the floating splinter in the air. Destroying it causes more Dark Nodes to spawn. Use one to gain the buff and then descend through a hole in the floor 🕳️. Below, a group of Hive Knights awaits. Eliminate them to unlock a portal that returns you to the main chamber. Here, standing in two specific circles will summon the first major boss: Eshkin’tuk, Witness’s Blessed. This foe lacks a shield, so a coordinated assault with your team's highest damage weapons and abilities should result in a relatively swift takedown.
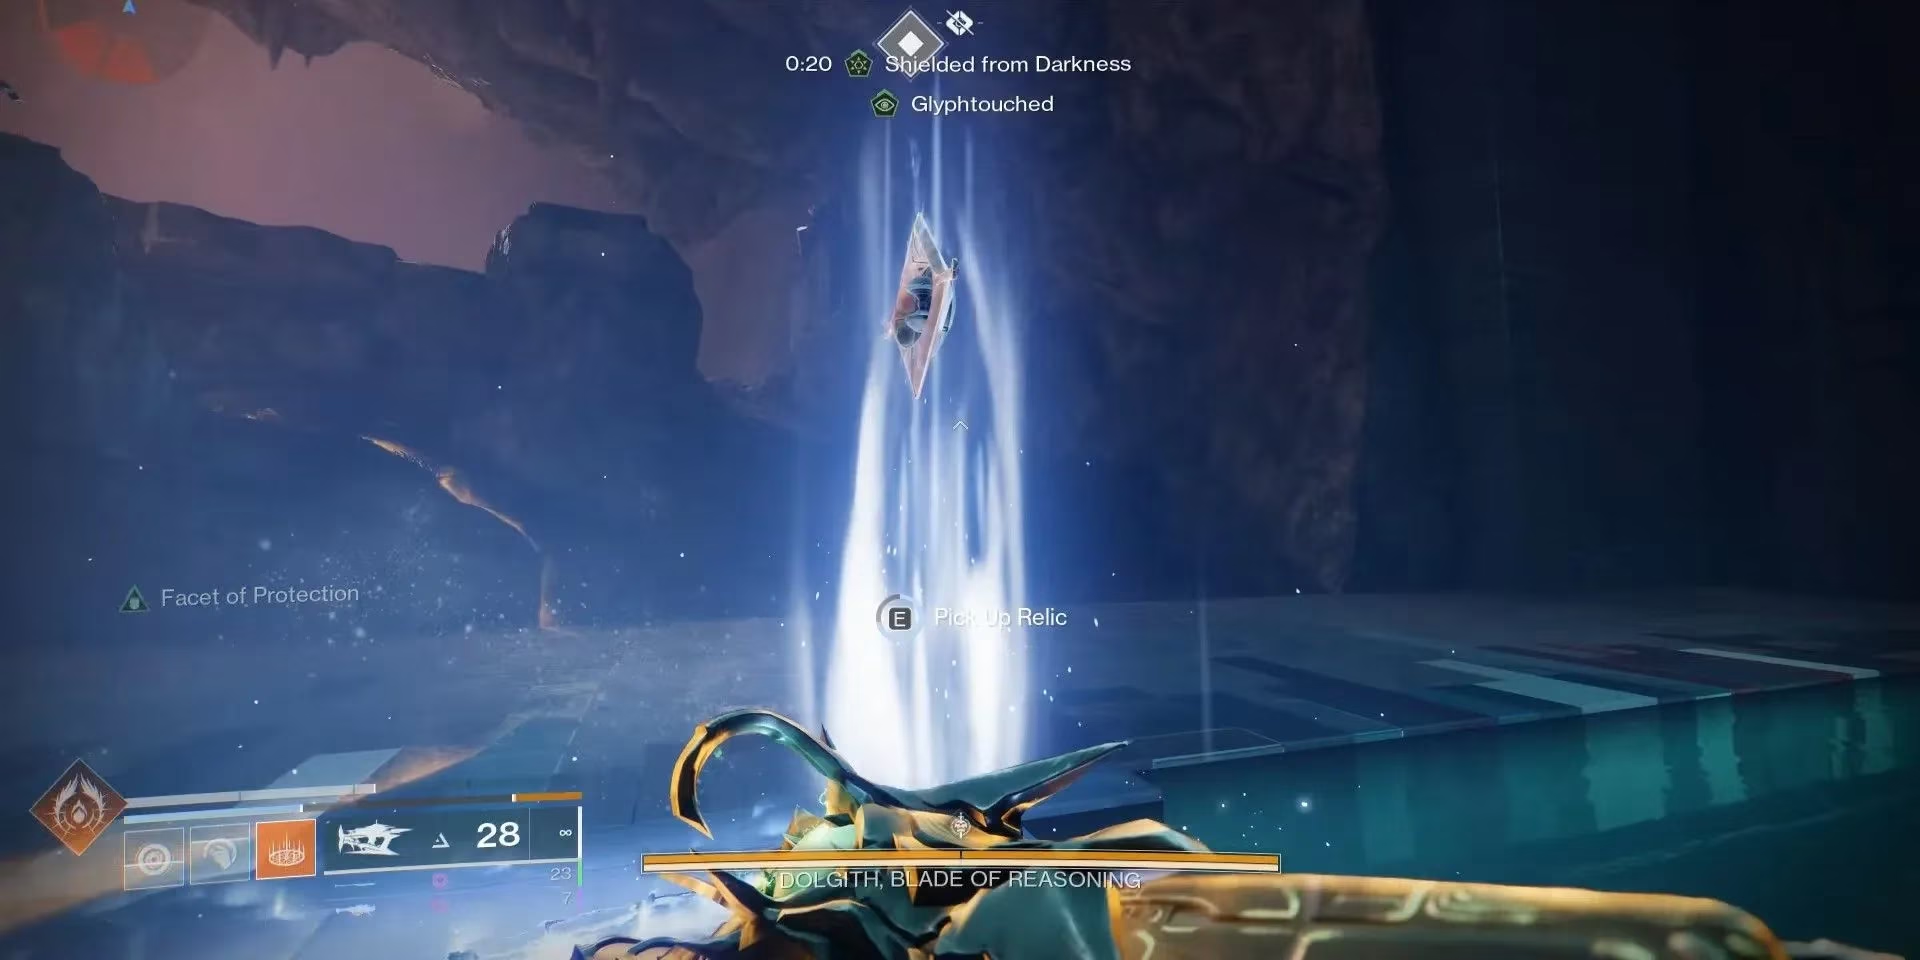
🔷 Encounter 2: Dolgith, Blade of Reasoning
The second arena presents a familiar but intensified challenge. Dolgith, Blade of Reasoning appears immediately, but the initial strategy shifts. Ignore the boss temporarily and focus on destroying the blights scattered around. This clears the way to shatter the splinter and spawn the necessary Dark Nodes. Using a node transports you to a subterranean maze, where you must find and eliminate more Hive Knights. This area is larger and more labyrinthine than the first, requiring careful navigation.
Complicating matters, the Dark Nodes now relocate after each use 🔄. You must track them down to maintain your buff. Back in the main arena, standing in the circles no longer summons the boss directly. Instead, it generates a protective shield. By supercharging this shield—likely by defeating specific enemies or interacting with mechanics—you can bring it down onto Dolgith, stripping its defenses and creating a major damage window. Minions will continuously spawn, forcing you to repeat the shield-gathering process a few times. Persistence is key to defeating Dolgith and advancing.
👁️ Encounter 3: The Final Confrontation
The path to the Ritual Site and the Witness itself can be less linear. If lost, look up—the architecture often hints at the next jumping puzzle destination. After a narrative moment, the final battle begins in a grand arena filled with Dark Nodes. The core mechanic involves shooting a node to claim a relic, which combines with your Super energy to break the shield of a Subjugator miniboss. Upon doing so, a Field of Light appears. Sprint into it and activate the relic's shield ability; this creates a safe zone that negates the Witness's devastating area attacks for as long as you remain within the light.
| Step | Action | Key Objective |
|---|---|---|
| 1 | Destroy the first Subjugator | Claim the Sword relic that spawns |
| 2 | Shatter the next splinter | Follow prompts to a statue room |
| 3 | Destroy one statue | You are warped back to the main arena |
| 4 | Repeat vs. 2nd Subjugator | Use Dark Node buffs to avoid poison damage |
| 5 | Destroy the second statue | Allies arrive to provide support |
| 6 | Let allies handle adds, grab the sword again | Return to the statue room |
| 7 | Destroy the third and final statue | Unlock the final phase |
After the third statue falls, you'll be transported to a new area with a shield relic. Use its protective barrier continuously as you walk down a linear pathway, weathering the final assaults until a climactic cutscene plays, marking the triumphant end of the Iconoclasm mission.

This mission perfectly encapsulates the essence of The Final Shape: high-stakes action, layered mechanics, and the culmination of a long-running saga. With this guide, Guardians can approach Iconoclasm with confidence, ready to claim victory and shape the destiny of their universe. 🚀✨