My Deep Dive into Destiny 2's Salvage: A Six-Guardian Symphony
Survive Destiny 2's Salvage activity in the Season of the Deep to earn Pinnacle rewards and defeat the final boss, Azshradat.
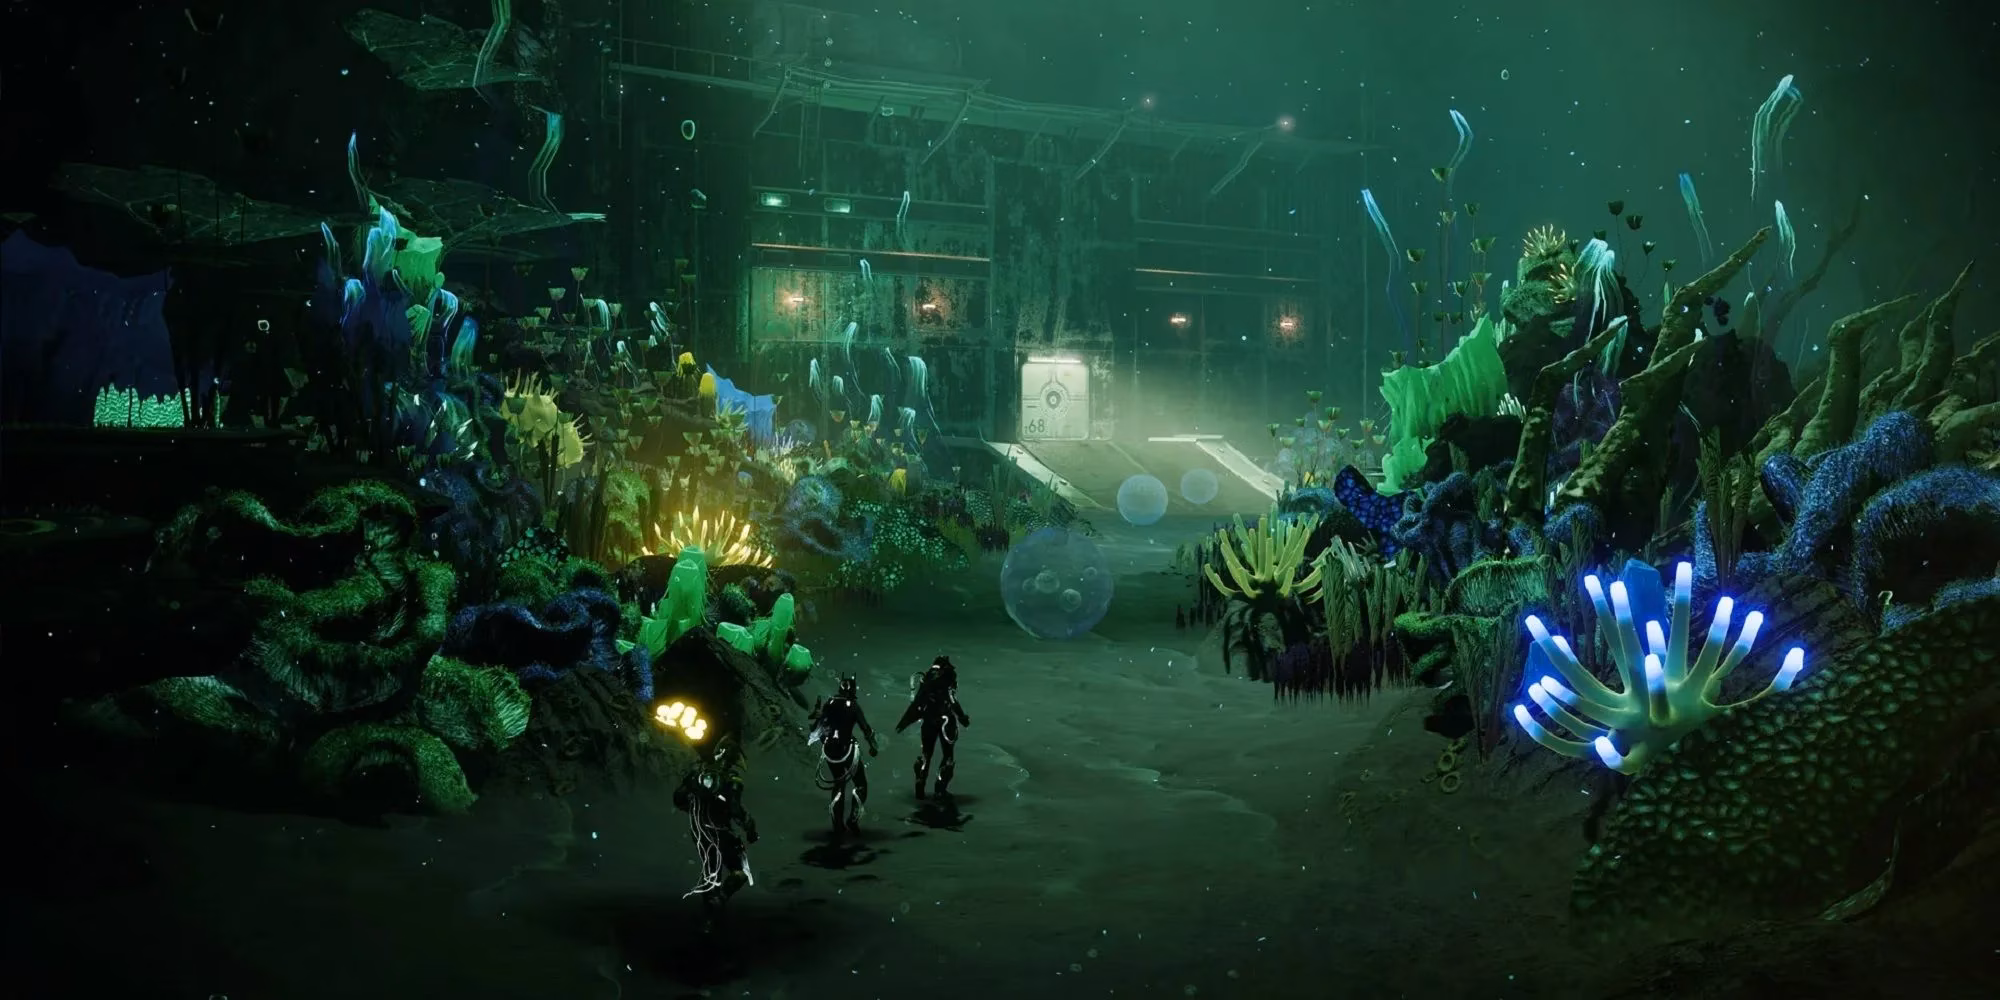
The first time the H.E.L.M. deposed me onto the brine-crusted deck of an abandoned rig, I felt like a barnacle clinging to a forgotten cathedral. The Season of the Deep threw us into underwater laboratories and salt-rusted platforms, and Salvage quickly became my crew’s weekly ritual for Pinnacle rewards. Even now, in 2026, the memory of that activity hums in my muscle memory like an old song. If you’ve never run it—or if you’re returning after a long hiatus—let me walk you through the two variants and the final boss fight, seasoned with a few lessons I learned the hard way.
Salvage always begins with a simple threshold: a recommended Power level of 1750. That number is a whisper now, but the activity still demands coordination. There are two starting flavors—the New Pacific Arcology and the Salvage Rig—but both funnel into the same final encounter against Azshradat, a shielded leviathan who taught me that standing still is a death sentence.
The Arcology Variant: A Dance with Fuses and Bombs
Landing in the open yard of the Arcology feels like stepping into a flooded museum. The first thing you do is interact with a transmission device to kick off the Salvage Operation. A progress bar appears, a thin lifeline that reminds you how far you are from the deep plunge.
The initial task is Install Crane Fuses. Corridors snake ahead, and glowing fuses are marked for everyone. Each target device demands three fuses, and while the objective is as straightforward as threading a needle, the Fallen hordes treat you like a pincushion. I always split our fireteam into a fuse-carrying trio and a defensive trio—the carriers moving like ants ferrying sugar crystals, the defenders spraying enemies like a pressurized hose. Without that rhythm, we’d wipe before the first real challenge.
Once the fuses are seated, a new urgency bleeds in: Disarm Fallen Explosives. The room shifts, and red icons blink into existence with the tempo of a stressed heartbeat. You have 30 seconds to disarm each explosive, and the process takes only 4 seconds—brief, but an eternity when a Captain is breathing down your neck. I learned to think of this phase as a game of whack-a-mole played underwater; every time you turn, a new explosive chirps its warning. Communication here is your armor. Call out the closest red icon, and trust your teammates to handle the rest.
After the last bomb fizzles, a Fallen Demolitionist lumbers into view. Six Guardians focus-firing turns this mini-boss into scrap metal in seconds. Then comes the echo: Repair Power Relays. This part mirrors the crane fuses, but instead of fuses, you’re hauling wrenches. Some wrenches dangle from the ceiling, bound by brittle material you need to shoot; others drop from Fallen Sappers you kill. Here, the team splits again—runners ferrying wrenches to relays, sentinels holding ground against endless spawns. I’ve often thought of this moment as a frantic ballet where half the dancers carry heavy props and the other half fend off stage invaders.
With the relays humming, the ocean swallows us. A tunnel of air bubbles guides us downward, and the boss arena rises from the abyss like a waking stone giant.
The Rig Variant: Cargo, Captains, and Chaos
When your boots first hit the rig, the job is simpler but no less savage: kill a wave of Fallen to secure the area. After activating the Salvage Operation, the familiar Crane Fuse mission starts—identical to the Arcology variant. But the true personality of this variant emerges in the Defend the Cargo section.
Three cargo packs sit exposed, and the Fallen descend from the sky like angry hail. Their ships dump rank-and-file soldiers, Resilient Captains, and an Unyielding Servitor onto the rig. Your only job is to keep the cargo health bars from draining while the Salvage Crane does its work. I’ve found that a shotgun becomes a third lung in this corridor of chaos; when a Captain teleports into your face, a blast of buckshot resets the conversation. One guardian with a well-rolled shotgun can hold a cargo point like a lighthouse in a storm.
Once the cargo is transmitted, the rhythm turns familiar again: disarm explosives, then eliminate a Fallen Demolitionist. Shotguns still shine here, especially when your fireteam covers your flanks. The Demolitionist falls fast, and then the ocean calls.
The Final Encounter: Runes and a Resurrected Boss
No matter which path you took, the final room is the same cathedral of pressure and brine. You rally at the banner, shatter the hovering shard, and the fight begins—but the boss, Azshradat, remains dormant. First, you must defeat two Runekeeper Wizards and two Runekeeper Knights, all shielded by an impregnable barrier.
The secret hangs above you: a massive rune symbol. Scattered around the battlefield are plates, each painted with a different symbol. To break the Runekeepers’ shields, you and your team must stand on the plate whose symbol matches the one in the sky. Think of this mechanic as a game of celestial Twister—when the overhead symbol changes, you all shift to the corresponding plate, your weapons now sharp enough to cut through the enemy’s defenses.
The symbol rotates periodically, so staying static is a mistake. I learned to watch the sky like a sailor reading clouds, calling out the symbol changes before the Runekeepers could regroup. Once all four Runekeepers are down, Azshradat rises, cloaked in his own shield. Destroy it the same way: match the plate to the rune.
If your fireteam’s damage is sufficient, you can one-phase the boss. I recommend everyone saves their Super for this moment—watching six Thundercrashes or Nova Bombs converge on Azshradat is a sight that never grows old. For weapons, Auto Rifles or Scout Rifles keep you effective from the plates’ varying distances, while a Grenade Launcher or Machine Gun serves as your boss-melting tool. If you fail to kill him in one cycle, the shield returns and Runekeepers respawn, but you can often ignore them and focus fire on the boss to clinch the victory.
Salvage, for all its simplicity, remains a masterclass in light teamwork mechanics. Each time I dive into that pressure chamber, I feel like a member of an orchestra where the plates are our instruments and the rune is the conductor’s baton. Even three years later, the activity humbles me—a reminder that the best Destiny 2 content doesn’t require complexity, just a tight ensemble and a willingness to move as one.